Add a ‘Back Office User’ to your PlanFacts account
The Back Office Users feature allows PlanFacts users the ability to authorize up to two users to “impersonate” – view, edit, and print PlanFacts cases on behalf of the primary registered PlanFacts user.
A registered PlanFacts user can add up to two Back Office Users. These users may be new or existing PlanFacts users. New users will be emailed a registration link that must be accessed and completed before they can access the advisor(s) account. Existing users will be emailed a notification confirming their ability to access the advisor(s) account.
How to add a back office user
Step 1
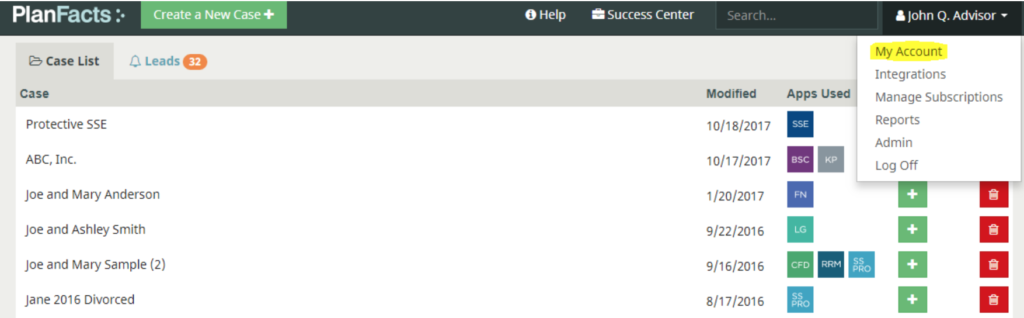
Sign in into your PlanFacts account. Once signed in to PlanFacts, click on your name in the topright corner then select My Account.
Step 2
Scroll down to the Back Office Users section. Add up to two Back Office Users by entering their email.

How to use the Impersonate User feature once added as another user’s Back Office User
Step 1:
The Back Office Users entered will receive email notification from PlanFacts with instructions.
The email will contain either a link to the PlanFacts login page or a link to a PlanFacts user registration page.
New PlanFacts Back Office Users will need to complete the registration—the registration page will not force any payment.
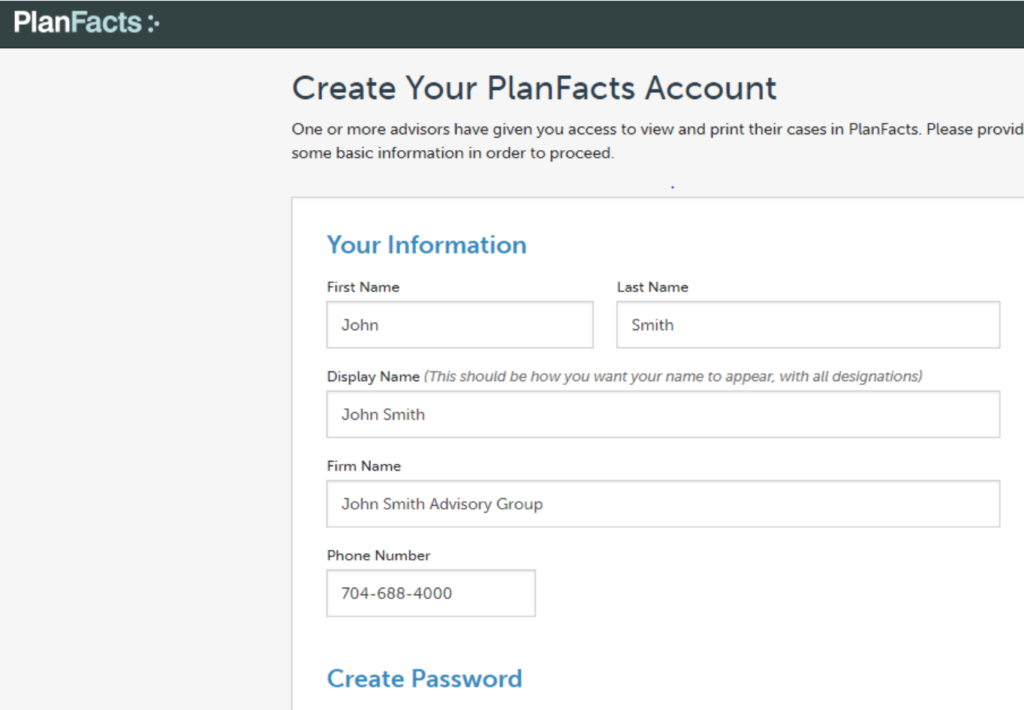
Note:
This registration does not provide access to products. It only allows login and access to the dashboard of the user
providing the Impersonate User sharing.
Step 2:
Log into your account. Click on your name in the top-right corner, then select Impersonate User.

Step 3:
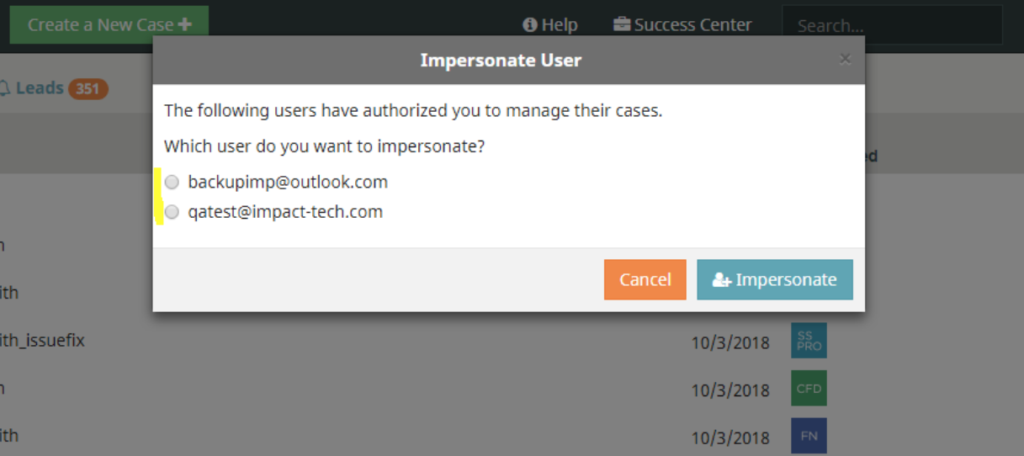
Select the user you will be impersonating (More than one user may have requested the same Back Office User). Click on Impersonate to view, edit, and print other users’ cases.
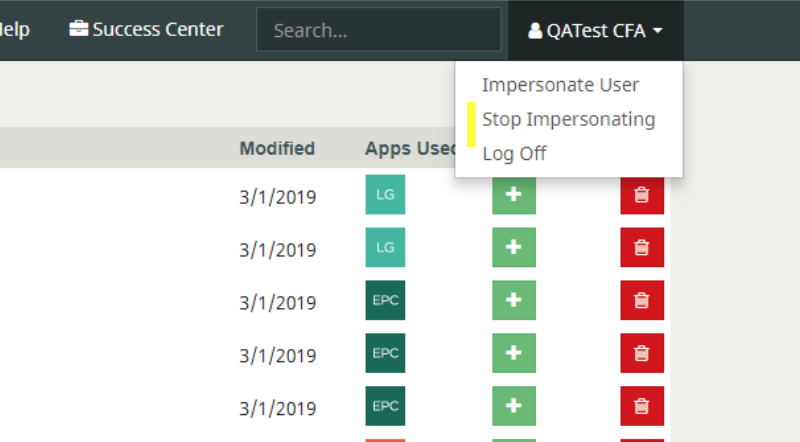
How to stop impersonating
To stop impersonating, impersonate a different user, or go back to your own account, click on the name in the top-right corner and select Impersonate User or Stop Impersonating.